Toro Powerlite Snow Thrower Blower
Pull-Cord Replacement / Belt Repair - Continued

At this point you've discovered the wheel bracket and motor support are one and the same because the whole machine collapsed when you removed the bolts supporting the wheel. The pull-cord housing in mine was only held on by 3 screws (fortunately). I would not have been able to get the bottom screw without disassembling the bottom shell if that #4 screw were present. My guess is Toro omitted this screw for this very reason.

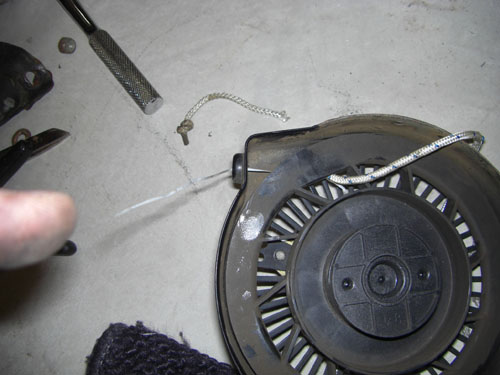
The pull-cord metal casing and reel are now free to remove.

You can see the cord is held in with one simple knot.

The reel spring is under tension now. I put the reel back into the installed position. I PULLED THE CORD OUT TO ITS FULL LENGTH AS IF I STARTED IT. Then I put a cable tie through the spokes of the wheel attaching it to the reel casing. Now the reel spring is properly tensioned. Now it's time to cut the cord. When you do, the cable tie will hold the reel in place. Use the cut cord to size your new pull cord to the proper length.
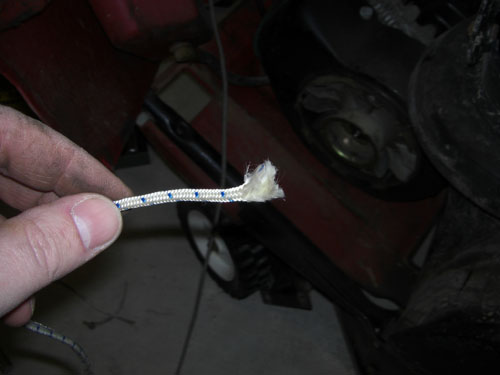
This is the new pull-cord. It frays very easily.
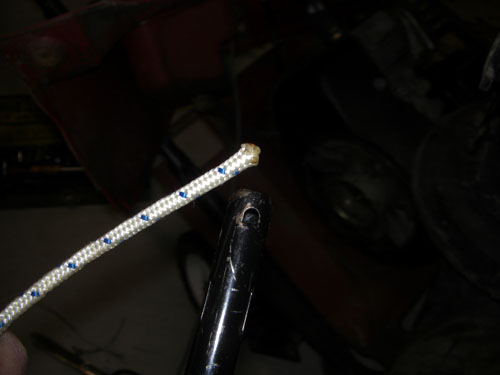
A bit hard to see here. I use a lighter to melt the end of the cord together. No more fraying.
This part was surprisingly hard. I couldn't easily thread the pull-cord through the holes. I grabbed some dental floss and tied it to the pull-cord. I threaded the dental floss through the holes and pulled the cord through. It was a tight fit. Dental floss is extremely strong for its size.
Before you do this step, did you thread the pull-cord through the proper holes to the outside of this machine?
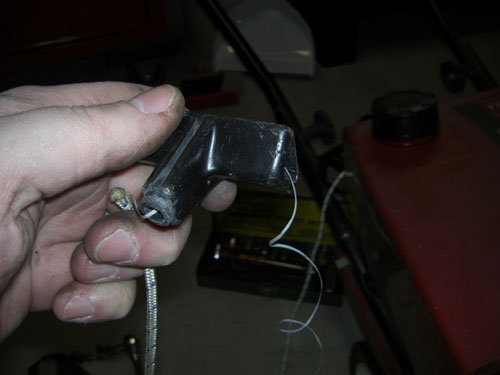
Same trick for the handle. Just run the floss though and tie it to the pull-cord.
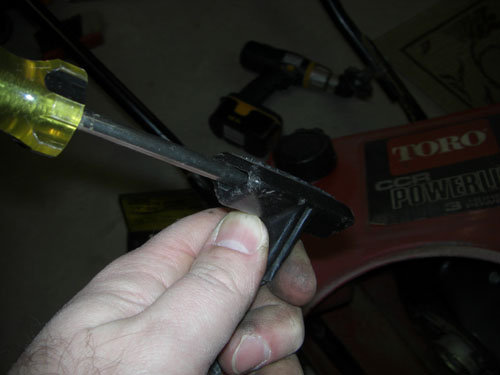
The cord has a hard time turning in the small space. Use a screwdriver to push it out once you see it in the channel.
You're done, sorta. Now reverse these directions and put it back together. Before you close it up, be sure to cut the cable tie securing the reel and now let the cord draw in. Make sure everything is moving smoothly. Don't do what I did. I passed the pull-cord through the hole for the electric start switch. I didn't notice until I tried to screw everything back together. I had to take the handle off and rethread the pull-cord. If I had these instructions I may not have a made that mistake!
It took me about 2 hours to get it done.
Belt repair on page 3