1999 Buick Regal/Pontiac Grand Prix Strut Replacement with Spring Transfer
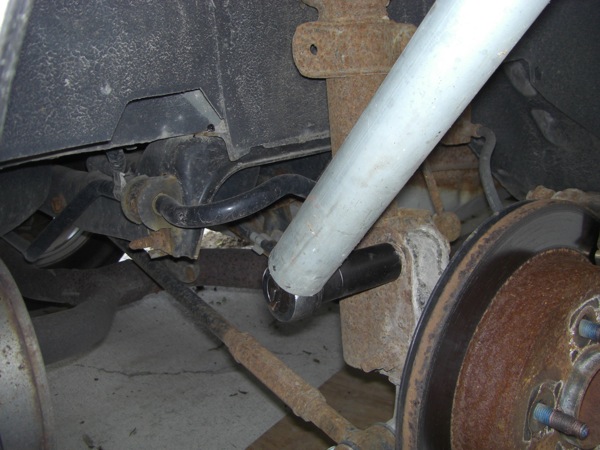
I use a 13/16ths impact socket with a wrench and fence post pipe to loosen the bolts. Spray some penetrating oil on the bolts to help ease them off. This picture is from the Pontiac job.
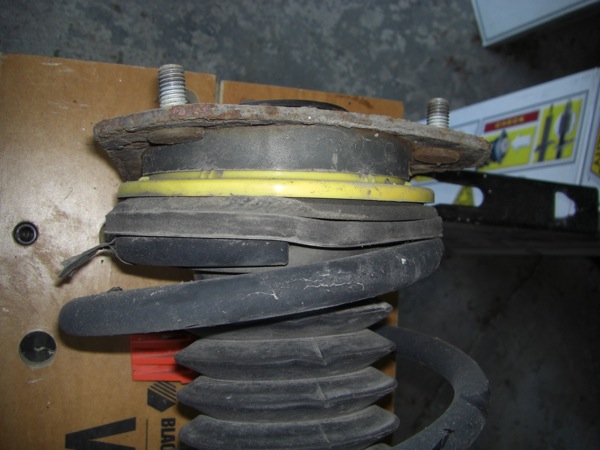
Look closely at the stack order before you disassemble the strut.
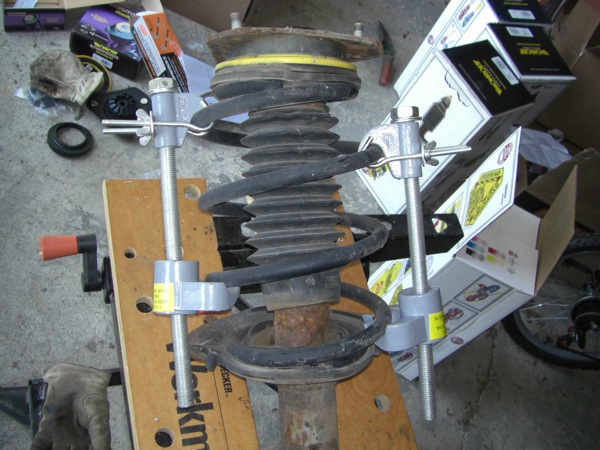
Compress spring. Oil the bolts constantly as you turn them. It makes it much easier.
Proper stack order of the bearing. Pay attention to the angled plastic disc the yellow disk is on top of. It has arrows which point to the mount bolts it is supposed to line up with. It is critical to get this right. If you don't the head of the strut will pitch the wrong way and the bolts won't go through the holes. It will be a mess. I forgot to photograph this mount.
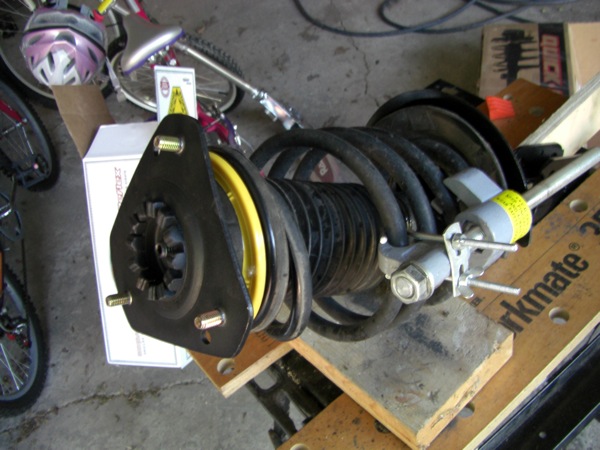
Mount is in place. Need to put the metal cup on top and tighten the bolt. Take a look at the strut. Visualize it going into the car. Is the open foot of the strut facing you? Is the mount angled toward the opening of the foot? You want to get this right.
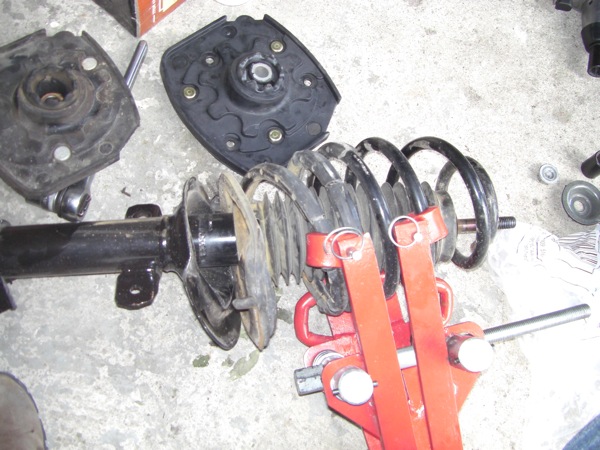
Here's a look at the new spring compressor doing the same job. It's still a big pain cranking this thing closed, but it's better than the 2 piece unit. Oil, oil, oil the bolt.
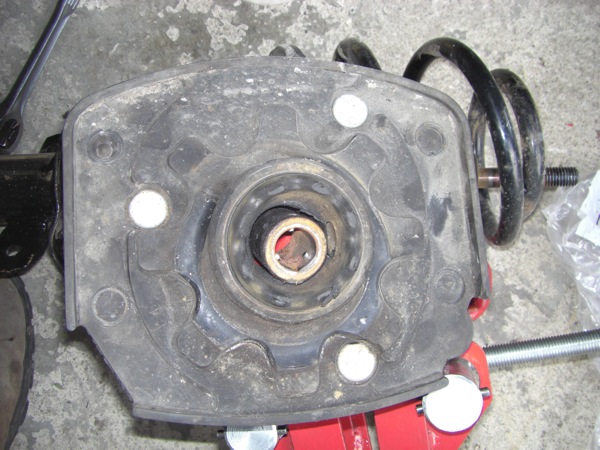
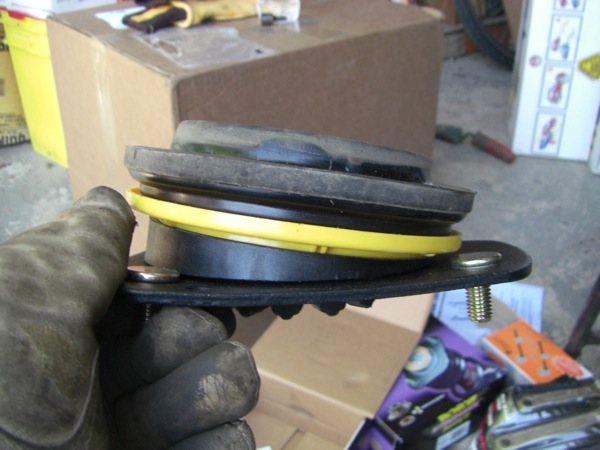
Here's a picture of a bad rear mount. The bushing in the center should be surrounded by rubber. This one has broken completely free.
This is bad. This is where the clunk in your rear end comes from.
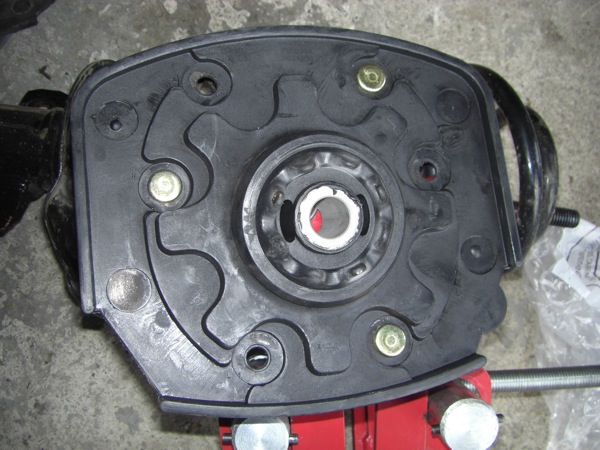
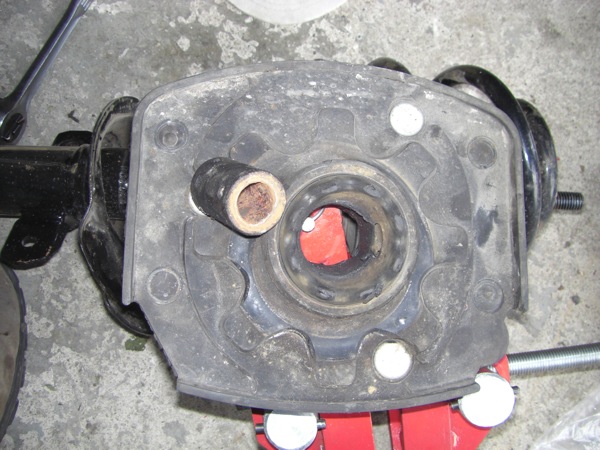
Here's what a good mount looks like. See the bushing is surrounded by rubber? It can flex a little with the gaps on the side, but not much.
That's it. I didn't show installing the front struts because there's nothing to see. I think they were much easier than the rears to get in and out. I'm glad I'm done with this. I put new struts on two cars. It saved me a pile of money, but it was time consuming and heavy work at times. Happy I did it. The cars ride much better now.
< Back to page 1